
MINGW环境配置
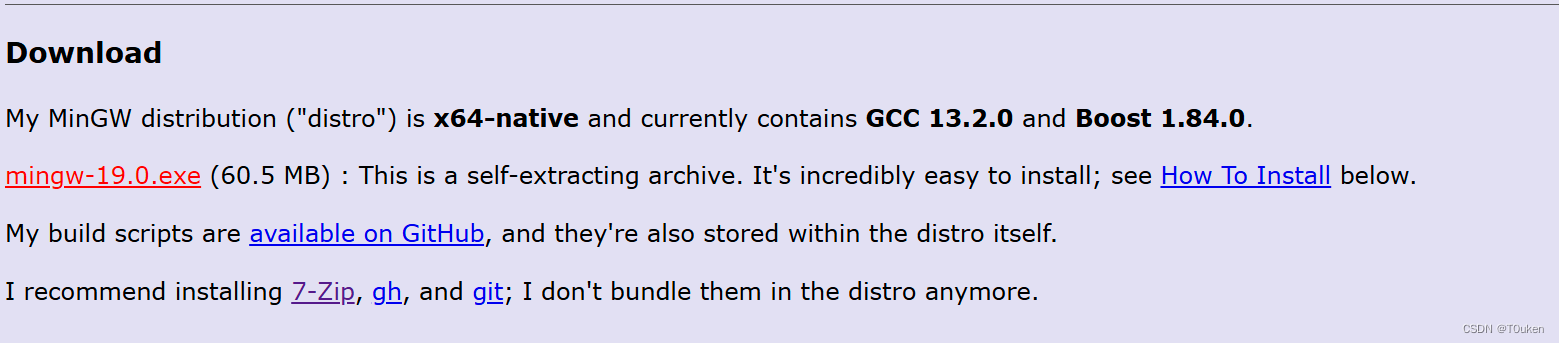
进入网站,如下图下载:MinGW Distro - nuwen.net
运行安装包,使其安装在你指定的位置

将MinGW的bin目录添加到系统的环境变量PATH中
- 使用 win+x 选择进入“系统”
- 点击“高级系统设置”
- 在“系统属性:高级”窗口中,点击“环境变量”按钮
- 在“环境变量”窗口中,在“系统变量”中点击Path
- 在“编辑环境变量”窗口中,点击“新建”,然后输入MinGW的
bin目录路径,例如C:\MinGW\bin。 - 点击“确定”保存更改。

检测环境是否配置成功
- 打开 win+r ,输入 cmd 打开命令行窗口
- 输入
gcc -v若出现相关信息则配置成功
Using built-in specs.
COLLECT_GCC=D:\CPPcode\MinGW\bin\gcc.exe
COLLECT_LTO_WRAPPER=D:/CPPcode/MinGW/bin/../libexec/gcc/x86_64-w64-mingw32/13.2.0/lto-wrapper.exe
Target: x86_64-w64-mingw32
Configured with: ../src/configure --enable-languages=c,c++ --build=x86_64-w64-mingw32 --host=x86_64-w64-mingw32 --target=x86_64-w64-mingw32 --disable-multilib --prefix=/e/temp/gcc/dest --with-sysroot=/e/temp/gcc/dest --disable-libstdcxx-pch --disable-libstdcxx-verbose --disable-nls --disable-shared --disable-win32-registry --enable-threads=posix --enable-libgomp --with-zstd=/c/mingw
Thread model: posix
Supported LTO compression algorithms: zlib zstd
gcc version 13.2.0 (GCC)
VSCode插件安装
插件安装后需重启VSCode方可生效
点击左侧的扩展图标(或按Ctrl+Shift+X)进入插件市场,搜索Chinese,安装第一个

在搜索栏中输入C++,然后安装C/C++扩展(Microsoft开发的)
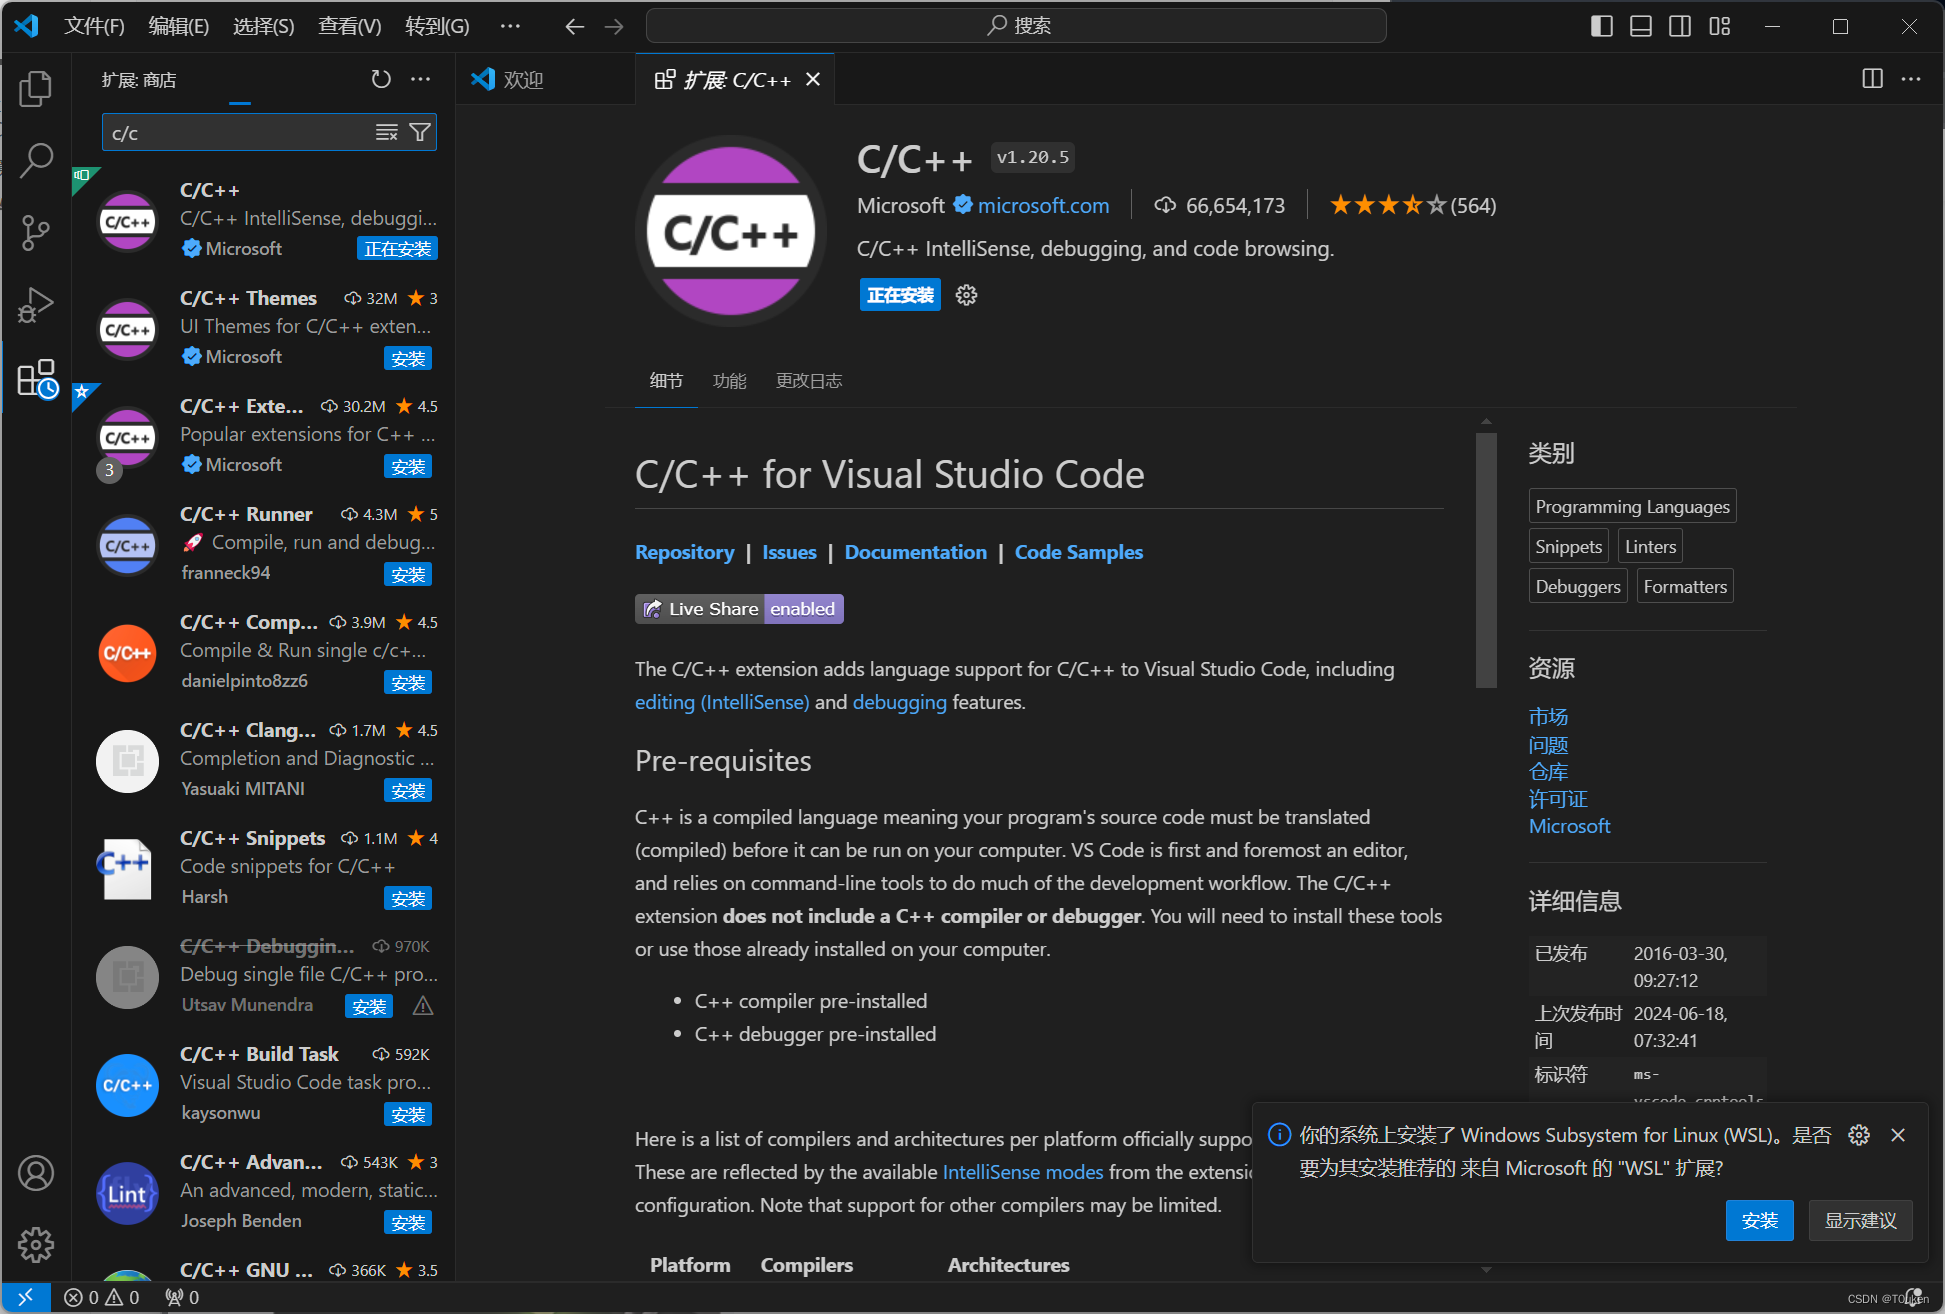
按Ctrl+Shift+P调出命令面板,输入C/C++: Edit Configurations (UI)并选择它。设置你的编译器路径。(一般默认即可)

配置 VSCode 的任务和调试
工作目录下创建一个名为.vscode的文件夹和*c_cpp_properties.json文件已经为我们创建完毕,我们需要在其中再创建以下三个文件:tasks.json、launch.json和settings.json。
tasks.json 文件定义了 VSCode 中的构建任务。你可以配置 VSCode 在构建(编译)你的项目时应执行的操作。例如,使用 g++ 编译器编译 C++ 代码。
{"version": "0.2.0","configurations": [{"name": "(gdb) Launch","type": "cppdbg","request": "launch","program": "${fileDirname}\\${fileBasenameNoExtension}.exe","args": [],"stopAtEntry": false,"cwd": "${workspaceRoot}","environment": [],"externalConsole": true,"MIMode": "gdb","miDebuggerPath": "D:/CPPcode/MinGW/bin/gdb.exe",  // 修改为你的编译器路径"preLaunchTask": "g++","setupCommands": [{"description": "Enable pretty-printing for gdb","text": "-enable-pretty-printing","ignoreFailures": true}]}]
}
launch.json 文件定义了调试配置。你可以配置 VSCode 如何启动和调试你的应用程序,包括设置调试器路径、启动参数等。
{"version": "0.2.0","configurations": [{"name": "(gdb) Launch","type": "cppdbg","request": "launch","program": "${fileDirname}\\${fileBasenameNoExtension}.exe","args": [],"stopAtEntry": false,"cwd": "${workspaceRoot}","environment": [],"externalConsole": true,"MIMode": "gdb","miDebuggerPath": "D:/CPPcode/MinGW/bin/gdb.exe",  // 修改为你的编译器路径"preLaunchTask": "g++","setupCommands": [{"description": "Enable pretty-printing for gdb","text": "-enable-pretty-printing","ignoreFailures": true}]}]
}
settings.json 文件主要配置了文件关联和一些编辑器的行为设置。
{"C_Cpp.default.compilerPath": "D:/CPPcode/MinGW/bin/g++.exe",  // 修改为你的编译器路径"C_Cpp.default.intelliSenseMode": "gcc-x64","C_Cpp.default.cppStandard": "c++17","C_Cpp.default.cStandard": "c11","C_Cpp.default.includePath": ["${workspaceFolder}/**"],"files.associations": {"*.py": "python","iostream": "cpp","*.tcc": "cpp","string": "cpp","unordered_map": "cpp","vector": "cpp","ostream": "cpp","new": "cpp","typeinfo": "cpp","deque": "cpp","initializer_list": "cpp","iosfwd": "cpp","fstream": "cpp","sstream": "cpp","map": "c","stdio.h": "c","algorithm": "cpp","atomic": "cpp","bit": "cpp","cctype": "cpp","clocale": "cpp","cmath": "cpp","compare": "cpp","concepts": "cpp","cstddef": "cpp","cstdint": "cpp","cstdio": "cpp","cstdlib": "cpp","cstring": "cpp","ctime": "cpp","cwchar": "cpp","exception": "cpp","ios": "cpp","istream": "cpp","iterator": "cpp","limits": "cpp","memory": "cpp","random": "cpp","set": "cpp","stack": "cpp","stdexcept": "cpp","streambuf": "cpp","system_error": "cpp","tuple": "cpp","type_traits": "cpp","utility": "cpp","xfacet": "cpp","xiosbase": "cpp","xlocale": "cpp","xlocinfo": "cpp","xlocnum": "cpp","xmemory": "cpp","xstddef": "cpp","xstring": "cpp","xtr1common": "cpp","xtree": "cpp","xutility": "cpp","stdlib.h": "c","string.h": "c"},"editor.suggest.snippetsPreventQuickSuggestions": false,"aiXcoder.showTrayIcon": true,"editor.formatOnSave": true,"editor.tabSize": 4,"editor.wordWrap": "on","files.autoSave": "afterDelay","files.autoSaveDelay": 1000,"terminal.integrated.shell.windows": "C:\\Windows\\System32\\cmd.exe"
}
至此,Windows主机已经可以正常编译调试代码了
服务器G++环境配置
在乌班图云服务器上安装 C++ 开发环境,包括编译器(如 g++)和调试器(如 gdb):
-
更新系统软件包列表:
sudo apt update -
安装 C++ 编译器和调试器:
sudo apt install g++ gdb
配置 VSCode 远程开发环境
在本地的 VSCode 中安装远程开发插件:Remote - SSH

打开设置,在Remote - SSH 中如图勾选

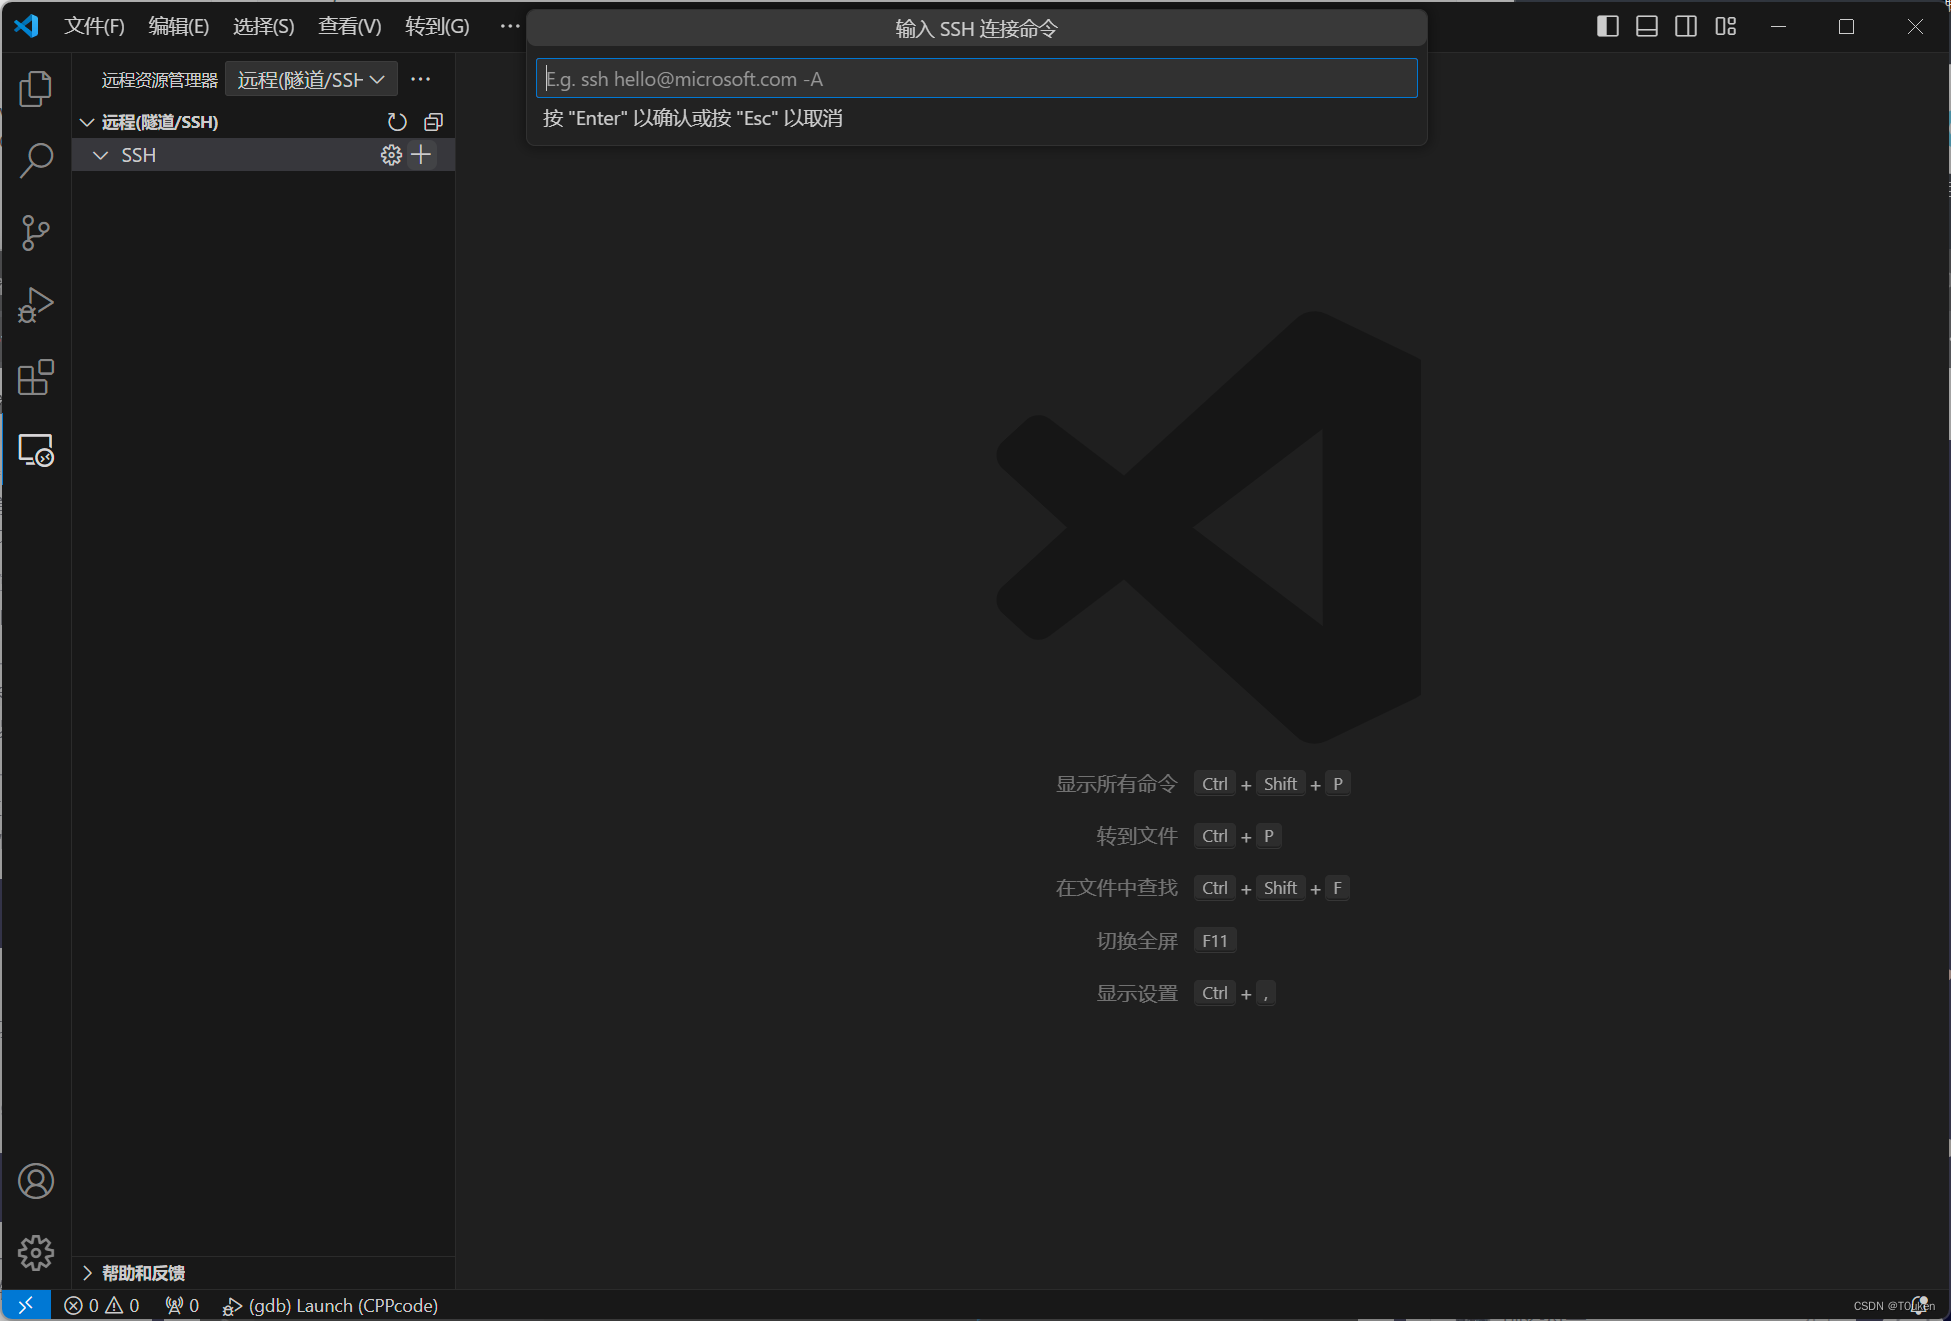
新建链接,输入用户名及ip地址
ssh username@ip
出现问题尝试清理 C:\Users\username\.ssh 下的所有文件内容
在你输入密码登录之后,VS Code 服务器会自动安装到 /root/.vscode-server 目录。
如果你需要进行 C++ 的开发和调试:
-
创建
.vscode文件夹: 在你的项目根目录下创建一个名为.vscode的文件夹。 -
将
tasks.json和launch.json复制到.vscode文件夹中: 将下面提供的tasks.json和launch.json的内容分别复制到.vscode文件夹下的对应文件中。
{"version": "2.0.0","tasks": [{"label": "build","type": "shell","command": "g++","args": ["-g","${file}","-o","${fileDirname}/${fileBasenameNoExtension}.exe"],"group": {"kind": "build","isDefault": true},"problemMatcher": ["$gcc"],"detail": "Generated task by vscode for building C++ files"}]
}
{"version": "0.2.0","configurations": [{"name": "(gdb) Launch","type": "cppdbg","request": "launch","program": "${fileDirname}/${fileBasenameNoExtension}.exe","args": [],"stopAtEntry": false,"cwd": "${workspaceFolder}","environment": [],"externalConsole": false,"MIMode": "gdb","setupCommands": [{"description": "Enable pretty-printing for gdb","text": "-enable-pretty-printing","ignoreFailures": true}],"preLaunchTask": "build","miDebuggerPath": "/usr/bin/gdb"}]
}


 "2024 年最新 Python 使用 gewe 框架搭建微信机器人实现语音智能回复(详细教程)")

